Building with Components (LED Example)
Virtuoso applications are designed in a high-level visual programming environment: you drag and drop components (nodes), connect them, and configure their properties. Each component may provide a dedicated Properties and Preview window to adjust its behavior or visualize its effect.
Components come from packages, which must be installed into your host before you can use them. Uninstalled components appear grayed out with an Install button.
1) Installing a Component Package
From the toolbox
Uninstalled components are gray; click the Install button.
From the right-click palette
Right-click the schematic, type a name (e.g. LED), and click the Install button.
Toolbox = install only
Palette = install and instantiate
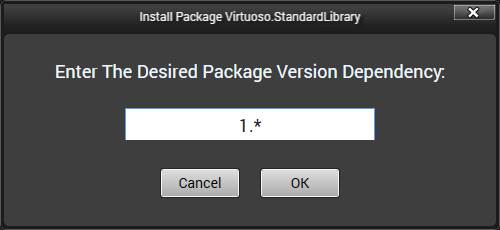
Choose a version dependency
Specify the package version. The default 1.* means “latest minor version under major 1.”
Watch Montage perform the install
Virtuoso sends the request to the Montage Launcher, where the install appears in the task tray.
Review installations
In Montage Launcher → Local Activities, click your activity to view:
You can also manage requests here and launch your activity.
2) Instantiating & Configuring a Component
Place the LED
Right-click schematic → type LED → select.
Configure properties & preview
Change LED color, style, and display name in Properties. The Preview shows results.

3) Editing Node Ports
Enter Edit Mode
Right-click node → Enter Edit Mode.
Rearrange ports
Drag ports into left, right, or center (hidden) slots. Add/remove slots as needed.
Expose hidden ports
The LED has a hidden Toggle event port. Add slots on the right panel by clicking the “+” button and move both Is On and Toggle there.
Exit Edit Mode
Click outside the node. You can now connect other node ports.
4) Wiring Components
Connect a button to the LED
Add a Momentary Pushbutton and connect its Clicked Boolean driver → LED’s Is On input.
5) Moving to Visual Studio
Update and open in IDE
Use the toolbar:
Explore project structure
Virtuoso generates a complete Visual Studio project. Expand the tree in Solution Explorer.
Edit your view
Open MainWindow.xaml. Your components appear on the canvas (top) with matching XAML (bottom). Drag and position them in the visual editor.

Build and run
Click the green arrow to run. Pressing the button toggles the LED. Note: some schematic components may not have a visible UI representation.

